Plastic chemical tanks are widely used in various industries for storing and transporting chemicals. They offer many benefits, such as durability, corrosion resistance, and cost effectiveness. However, just like any other equipment, these tanks require regular maintenance to ensure their optimal performance and longevity. In this blog post, we will discuss how to properly clean your plastic chemical tank, covering everything from the necessary equipment to step-by-step instructions so you can keep your tank in top condition and avoid costly repairs or replacements.
Why Clean Your Plastic Chemical Tank?
Before diving into the cleaning process, we must first understand why keeping your plastic chemical tank clean is important. Chemicals can leave residue and buildup on the walls and bottom of the tank, affecting their quality and potentially leading to contamination. Regular cleaning not only ensures the purity of your chemicals but also helps to prevent any structural damage to the tank.
Necessary Equipment
Proper cleaning of a plastic chemical tank requires the right equipment. Equipment plays a pivotal role in ensuring the tank is clean and maintains its structural integrity, which is critical for safe chemical storage. High-quality cleaning equipment can effectively eliminate any chemical residue, preventing contamination and ensuring operational efficiency.
Here are some essential items you’ll need for cleaning your plastic chemical tank:
- Protective gear (gloves, goggles, mask)
- Pressure washer or hose
- Scrub brush or sponge
- Nonabrasive cleaner (specifically designed for plastic)
- Water source
- Towels or rags for drying
Investing in the right cleaning equipment enhances longevity and optimizes the performance of your plastic chemical tank. Inadequate or incorrect equipment, on the other hand, can potentially damage the tank, leading to costly repairs or replacements.
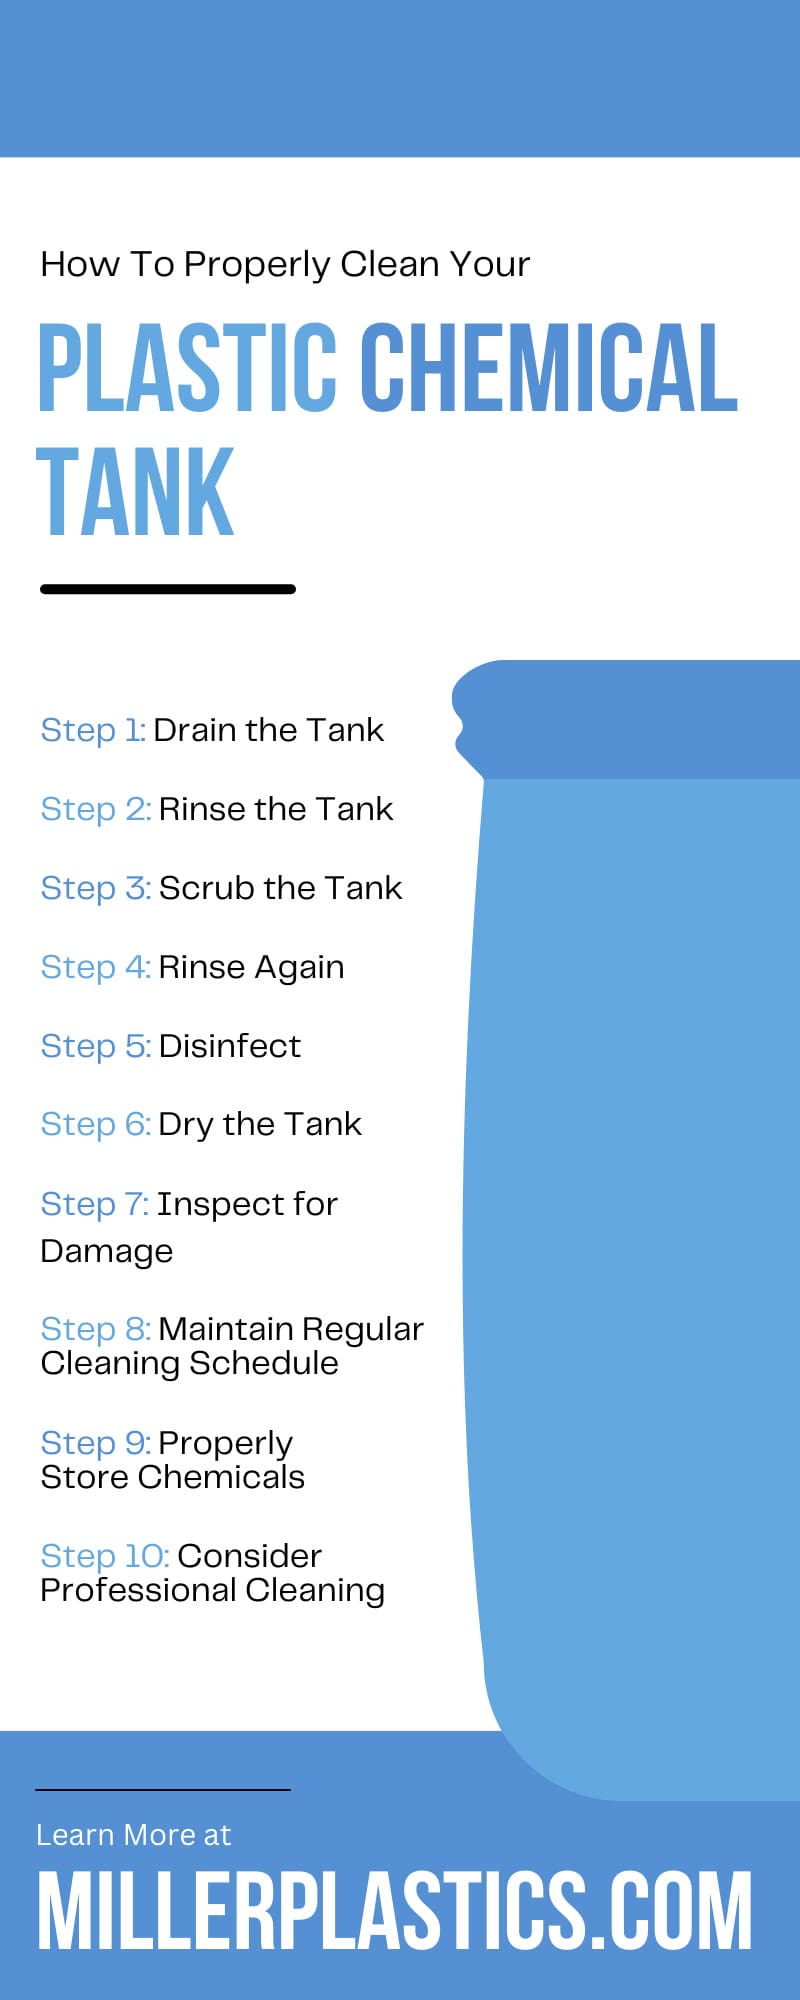
Step 1: Drain the Tank
The first step is to drain the tank completely. This process ensures that the tank is free of any residual chemicals that could otherwise react with the cleaning agents, leading to unexpected and undesirable results. Make sure to dispose of the chemicals safely according to regulations. You can also use a pump or siphon to remove any remaining liquid if necessary.
Step 2: Rinse the Tank
Using a pressure washer or hose, rinse the inside of the tank thoroughly. This will help to remove any loose debris and chemicals that may be stuck on the walls or bottom of the tank. Make sure to use enough water pressure to effectively clean all areas.
Step 3: Scrub the Tank
Once you have rinsed the tank, it's time to scrub off any remaining residue. Use a nonabrasive cleaner and a scrub brush or sponge to gently clean the walls and bottom of the tank. Avoid using harsh chemicals or abrasive materials as they can damage the plastic. It's especially important to understand the effects of chemicals if your tank is a custom acrylic fabrication made of specialized plastic polymers.
Step 4: Rinse Again
After scrubbing, rinse the tank once again to remove any leftover cleaner and debris. While a single rinse may seem sufficient on the surface, microscopic chemical residues can still cling to the tank walls, unseen but potentially harmful. If needed, you can repeat the scrubbing and rinsing process until the tank is thoroughly clean.
Step 5: Disinfect
To ensure that your plastic chemical tank is free of any bacteria or germs, it's important to disinfect it after cleaning. Disinfection aims to kill microorganisms that may be present in the tank, including bacteria, viruses, molds, and fungi. You can use a mild bleach solution or a specialized disinfectant designed for plastic tanks, but be sure to follow the manufacturer's instructions.
Step 6: Dry the Tank
After completing all cleaning and rinsing, use towels or rags to dry the inside of the tank. This step ensures the complete removal of moisture that could potentially become a breeding ground for bacteria or mold, which might lead to contamination in the long run. The drying process also aids in the removal of any remaining chemical residues that might have been missed during the rinsing stages.
Step 7: Inspect for Damage
Once the tank is dry, inspect it for any signs of damage. Over time, tanks can develop cracks, warps, or other types of damage from regular wear and tear or reactions to certain chemicals. Ignoring such damages could lead to leakages, spills, or even a catastrophic tank failure, posing significant threats to safety, environmental health, and operational efficiency. Look for cracks, holes, or discoloration that may be caused by chemical exposure or wear and tear and be sure to address them immediately to prevent further damage.
Step 8: Maintain Regular Cleaning Schedule
Maintaining a regular cleaning schedule is important to keep your plastic chemical tank in top condition. This will depend on the type of chemicals you store and how frequently you use the tank. Consult with a professional or refer to the manufacturer's guidelines for recommended cleaning intervals.
Step 9: Properly Store Chemicals
Another way to ensure the longevity of your plastic chemical tank is to properly store the chemicals. It's vital to use appropriate containers, label them correctly, and follow safety guidelines for handling and storing hazardous materials. Chemicals must be adequately sealed to prevent leakage or contamination, as some substances can corrode certain types of materials. Always check the condition of the container and its seal before storing chemicals.
Step 10: Consider Professional Cleaning
In some cases, hiring a professional cleaning service for your plastic chemical tank may be more beneficial. They have the necessary expertise and equipment to thoroughly clean and maintain your tank, saving you time and effort. It's important to keep a record of your tank cleaning schedule and any maintenance or repairs. This will help you track the condition of your tank and identify any patterns or potential issues that may arise.
Keep Your Tank in Top Condition
Properly cleaning your plastic chemical tank is essential for maintaining its performance and longevity. Follow these steps and consult with professionals if needed so you can keep your plastic chemical tank in top condition. Remember to always prioritize safety and follow proper procedures when handling chemicals and maintaining equipment. With regular care and attention, you can ensure the optimal performance of your plastic chemical tank for years to come.